So, as the title of this post implies, today's post centres around a readiness to let go.
It is odd how the universe works, in the blink of an eye your whole world is pulled out from underneath you, resulting in an immense imbalance, where there was once stability is now replaced by a chasm of despair that you find yourself happily drowning in.
Don't worry, this is not going to be one of those posts, however, it will be wordy.
For the last month, I have found myself in a position where unconsciously (I like to believe guided) I have been making decisions that affect my future, profound ones, that at the time felt insignificant, yet subconsciously I knew was a massive step towards healing.
Letting go
Back last year, I made a start on bagging (I hate to describe it that way) but to quote Shaz 'it is what it is' it is essentially what I did with Sharon's plain clothes, they were put into bin bags and placed next to her dresser unit, where they sat, for a year.
Last weekend I felt ready to take them to a recycling centre, allowing others to benefit from them.
Fast-forward to this weekend, I took a few bigger steps and carefully packed all the rest; her handmade/tailored stuff, her expensive stuff, and on a more sombre note, the gifts she never got to see or open.
With one exception, her battle jacket.
Sharon's battle jacket is a testament to her strength, a sign of who she was, it is a statement piece of what she loved, which she completed well before we got together.
For anyone not familiar with a battle jacket concept, you essentially add patches from bands and things that mean something to you, the bands and music become your shield of sorts and a sign of where you draw your strength from, for Sharon (like me) it was through music.
When worn, it becomes your armour, hence the term battle jacket. At least this is my reasoning and thoughts behind them, so don't quote me
After reaching out at the start of this week for a collection, the cancer research van came to collect her clothes.
I also know that it will go on to make others happy, and the money raised will go to a good cause.
I went for the collection as I would rather not know which shop they will be going to, especially as some are one-off pieces.
I am not going to lie and say it was an easy moment, far from it, but I knew it was time to let it go.
In regard to battle jackets, I have started my own, with patches that have significant meaning, from bands that have picked me up and for quotes that |I hold dear.
The kickin Valentina badge is not sewn/stuck down.
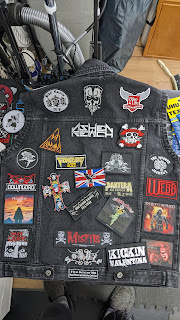
It is very much a work in progress, and one that I am hoping a specific band brings out a patch I can place at the heart of it in the back, so the ones placed there at the minute are some I have to use.
Some of these patches have been collected over the years by both of us, others are new by bands I have discovered since Sharon's passing.
As already mentioned above, these bands and festivals hold significance to me, hence why they are on the jacket.
Note, many on the back right now and not sewn or glued down, it was just to show them
More letting go
I removed my wedding band too and placed it back in the box besides Sharon's, along with the bracelets that contain a small amount of her ash.
The Diary on the right is of great significance, it lists a lot of the things we purchased as we were starting out along with where we got them from, I found it in the memory box where the ring box was.
Moving forwardAs many will remember the reason for me taking my motorcycle test last year was for me, my solo trips were my healing space, to quote our Julia '
it is all about me', me, the road and music to explore on my own, this has provided me with a much-needed means of escapism when music alone was not enough.
Well, last month I found myself ordering padding for my top box, so eventually, I could take a pillion in comfort.
My insurance was due for renewal on the 28 of August, so while renewing it, I more than tripled the estimated mileage and added pillion cover.
I have used the motorcycle for Festivals and camping, along with combining them, both of which have helped no end in allowing me to move on.
The picture is of my little red tent pitched with beside new friends at Stonedead festival 2 weeks ago.
It is strange how one day you can wake up and feel OK, and you are OK, and have a future again!

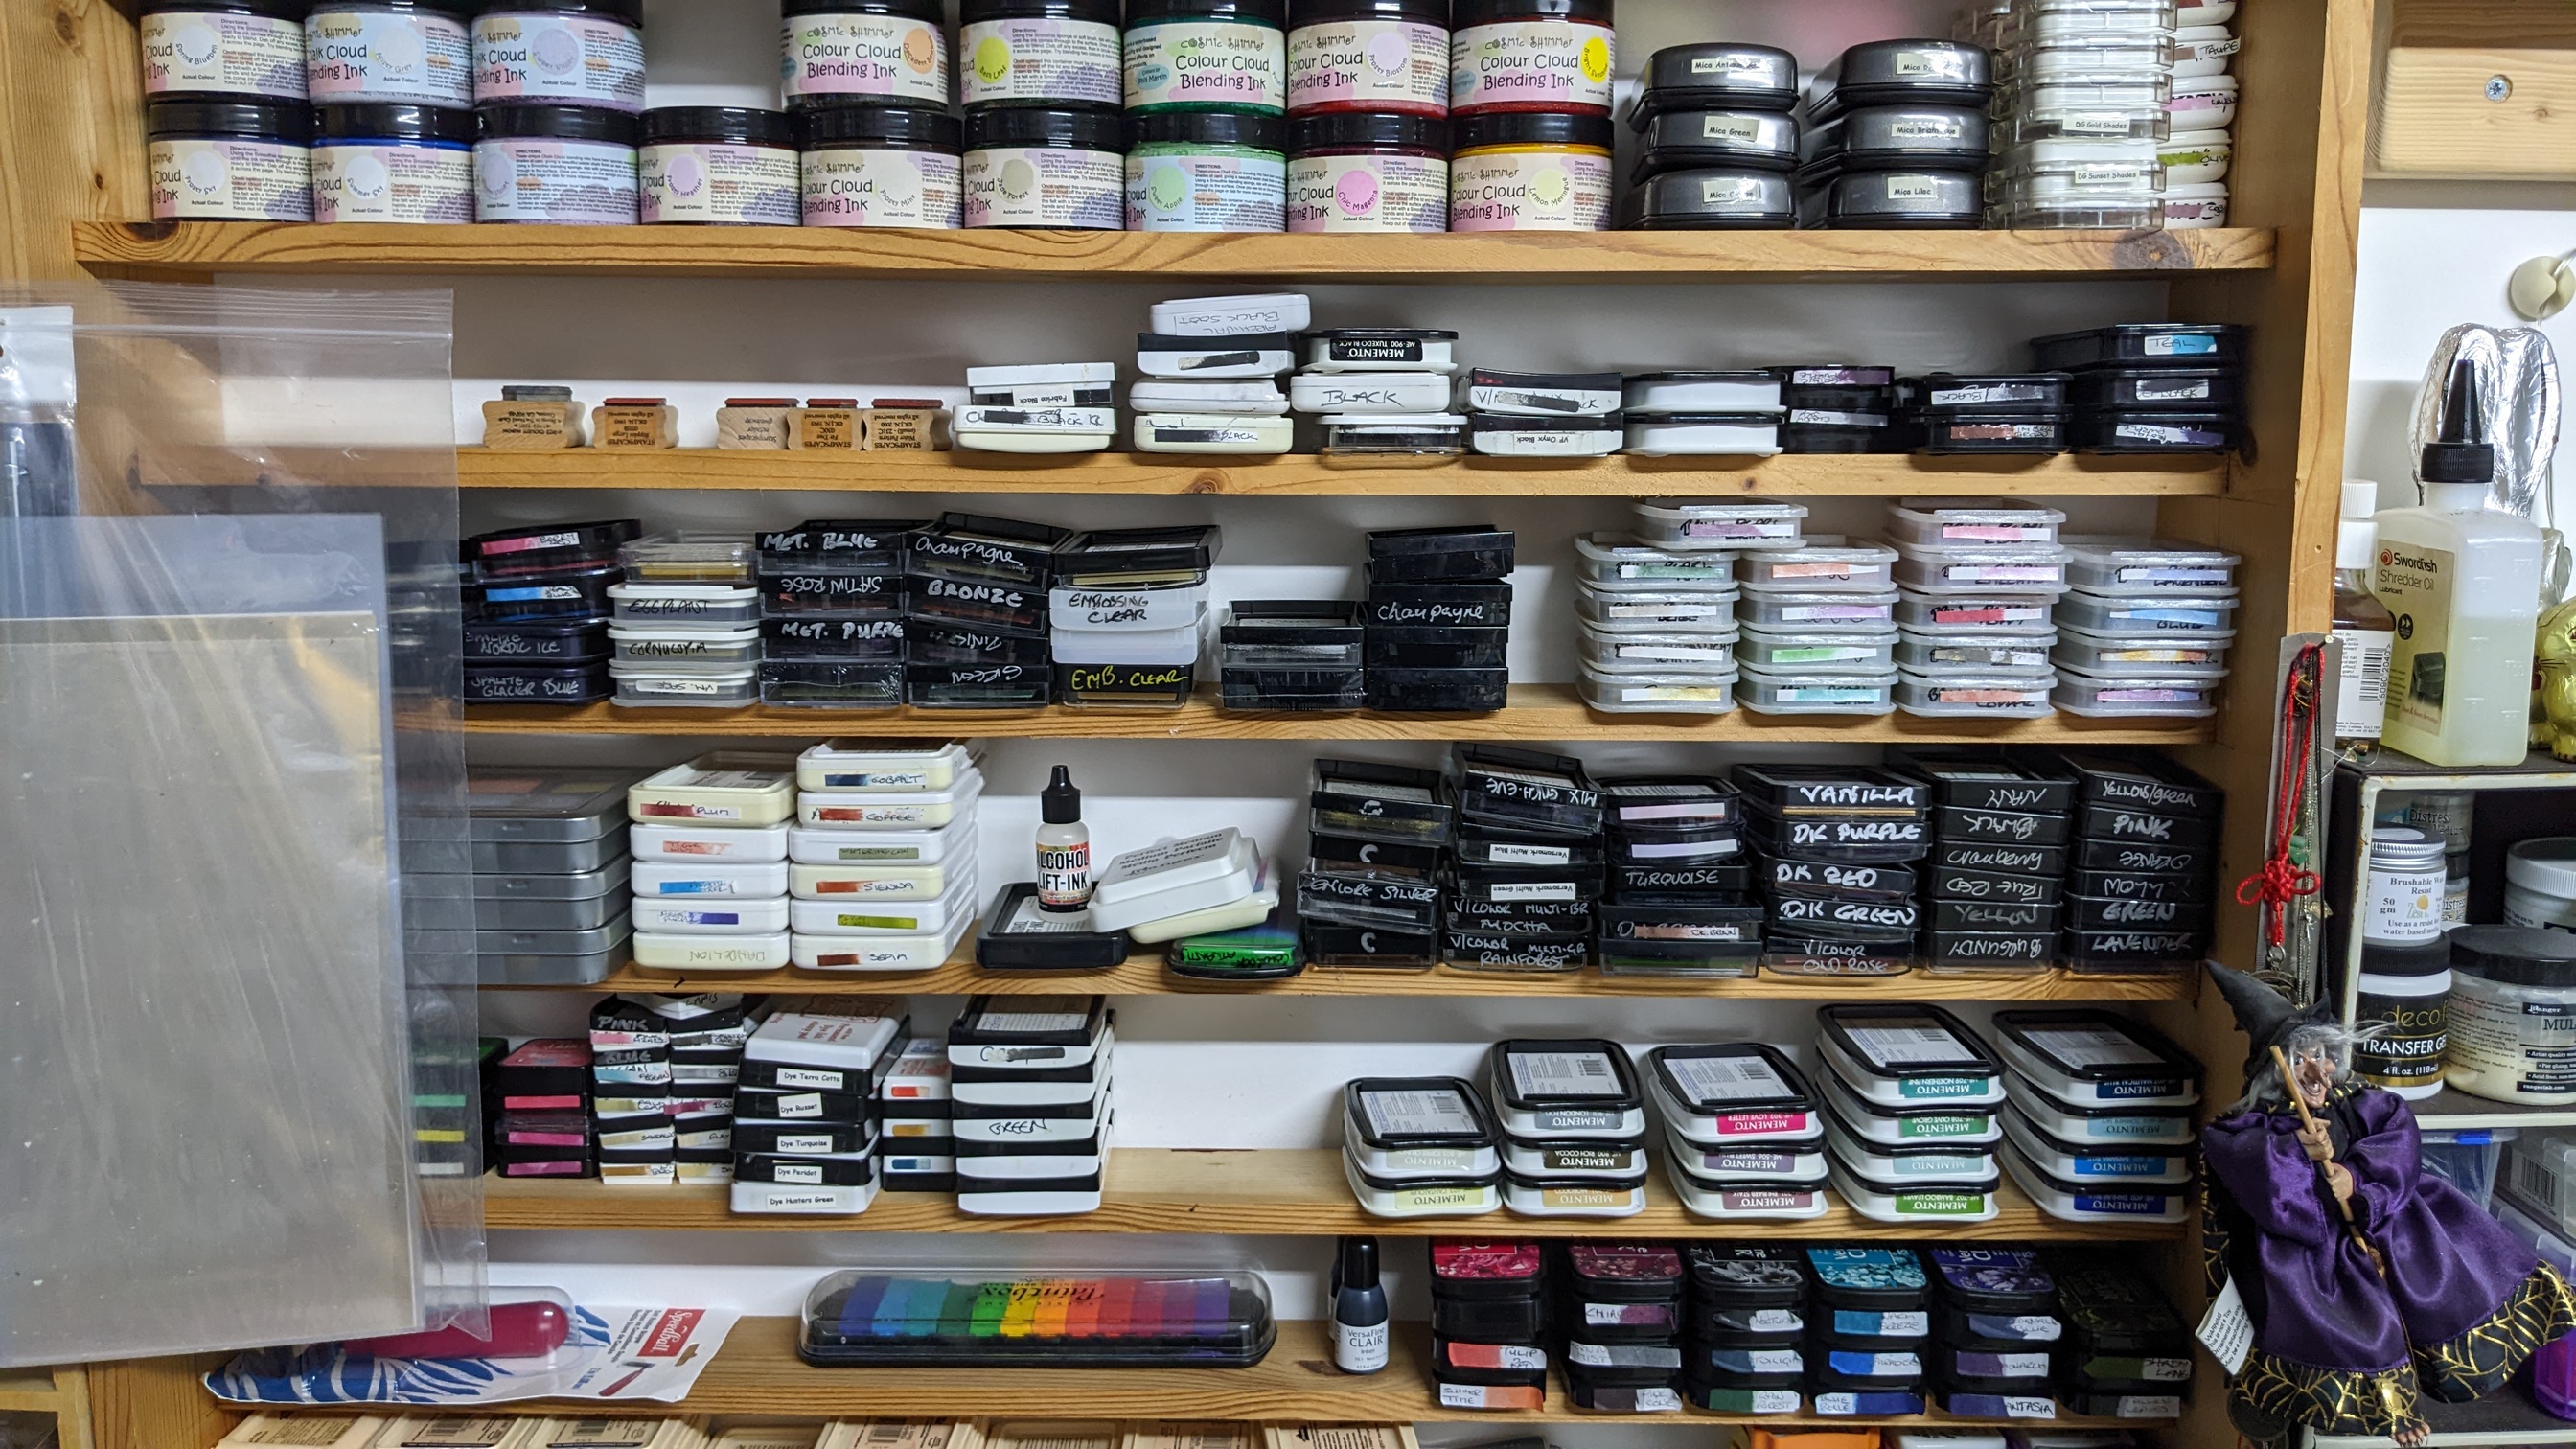
 As you know, Sharon was the enabler extraordinaire and as a result has collected a lot (understatement) of crafting stash & stuff, probably 99% of which I would like to pass on to the community with donations in return to charity.